
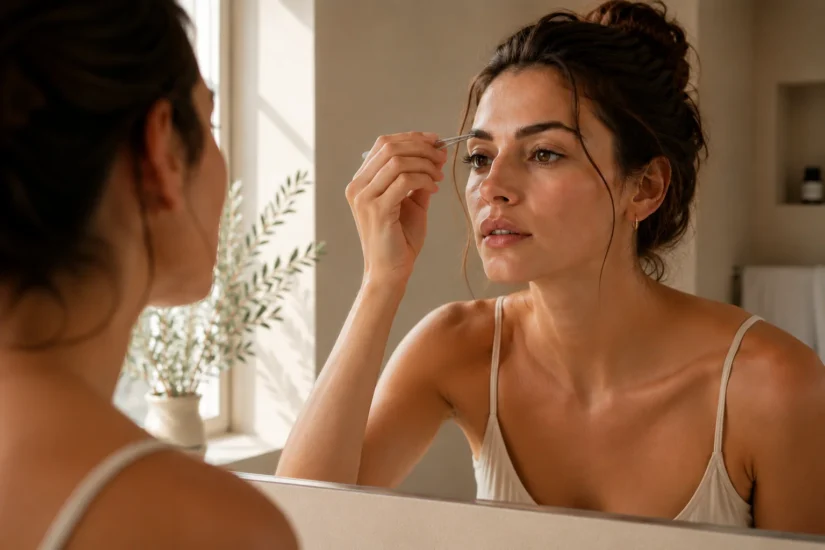
How to shape eyebrows at home step by step – find the right shape for your face, map your brows, and avoid the mistakes that lead to over-plucking.
Getting your eyebrows done at a salon works, but it adds up fast – both the cost and the time. Once you learn how to shape eyebrows at home, you’ll wonder why you didn’t start sooner.t
The reason most people avoid doing their own brows is fear. Fear of over-plucking, creating uneven shapes, or ending up with something that takes months to grow back. Those concerns make sense, but they’re avoidable. Whether you want to shape eyebrows for beginners or just clean up what you already have, it comes down to understanding the basics: where your brows should start and end, which shape suits your face, and which hairs to leave alone.
Key Takeaways
- Your face shape helps narrow down your ideal brow shape. Round faces suit angled arches, square faces look better with soft curves, and oval faces can pull off most shapes.
- Brow mapping takes 30 seconds and prevents over-plucking. Use a pencil to find where your brows should start, peak, and end before touching a single hair.
- Only remove hairs outside your natural shape. The biggest mistake people make when learning how to shape eyebrows at home is removing too much from the top or arch.
- Skip the magnifying mirror. It shows hairs no one sees from a normal distance and leads to over-tweezing. Natural light and a regular mirror are all you need.
- Tweeze after a warm shower when pores are open. It hurts less and hairs come out cleaner.
Table of Contents
- How to Find the Right Shape for Your Face
- Brow Mapping
- How to Shape Eyebrows Step by Step
- Tweezing vs Waxing vs Threading
- Mistakes That Lead to Over-Plucking
- How to Maintain Your Shape Between Sessions
- FAQ
How to Find the Right Eyebrow Shape for Your Face
Before you pick up tweezers, you need to know what shape you’re going for. The wrong shape can throw off your whole face, and the right one can make everything look more balanced – even without makeup.
Your face shape is the starting point:
| Face Shape | Best Brow Shape | Why |
|---|---|---|
| Round | Angled, high arch | Adds definition and length to a soft face |
| Oval | Soft arch | Complements natural symmetry |
| Square | Curved, rounded arch | Softens strong jawline and angular features |
| Heart | Rounded, medium arch | Balances a wider forehead and narrow chin |
| Long/Oblong | Flat, low arch | Adds width and prevents the face from looking longer |
A few things to keep in mind when choosing a shape:
Work with your natural brows, not against them. If your brows naturally grow straight, forcing a dramatic arch means removing a lot of hair and constant maintenance. The shapes that tend to look best and last longest are the ones closest to what you already have, just cleaned up.
Trends come and go. Thin brows were everything in the 2000s. Thick, bushy brows took over in the 2010s. Right now the trend leans toward natural, groomed shapes. Instead of chasing whatever is popular, find a shape that flatters your face and stick with it.
Brow Mapping: Your Start, Arch, and End Points
Brow mapping is a technique that helps you figure out exactly where your brows should start, where the arch should peak, and where they should end. It takes about 30 seconds and prevents you from removing the wrong hairs.
All you need is a straight object – a pencil, a makeup brush handle, or even a chopstick.
Finding your start point: Hold the pencil vertically against the side of your nose. Where the pencil crosses your brow is where it should begin. Any hairs between your brows (past that line toward the center) can go.
Finding your arch: Angle the pencil from the side of your nose through the center of your pupil (looking straight ahead). Where it crosses your brow is your natural arch – the highest point. This is where your brow should curve or angle.
Finding your end point: Angle the pencil from the side of your nose to the outer corner of your eye. Where it crosses your brow is where it should end. Hairs past this point can be removed.
Mark these three points with a light dot using an eyebrow pencil or concealer. That’s your guide. Everything outside these boundaries is fair game for removal. Everything inside stays.
How to Shape Eyebrows at Home: Step by Step
Once you’ve mapped your brows, the shaping part is straightforward. Here’s how to shape eyebrows at home without overdoing it:
1. Gather your tools.
- Slant-tip tweezers (the angled kind, not pointed)
- A spoolie brush (the kind that looks like a mascara wand)
- Small scissors for trimming long hairs
- A brow pencil for mapping marks
- Good lighting – natural daylight near a window is ideal
2. Brush your brows up. Use the spoolie to brush all brow hairs upward. This reveals the natural shape underneath and shows you which hairs fall outside the line.
3. Trim any long hairs. Some brow hairs grow longer than others and stick out past the top of your brow line. Use small scissors to trim just the tips of these hairs – don’t cut them short. Trimming gives a cleaner look without removing any hair.
4. Start tweezing underneath. Begin with the hairs below your brow line. Work from the inner corner outward, removing one hair at a time. Pull in the direction of hair growth. After every few hairs, step back from the mirror and check your work from a normal distance.
5. Clean up between your brows. Remove stray hairs between your brows (past your mapped start point). Don’t go overboard – your brows should still look natural, not miles apart.
6. Avoid the top of your brow. This is where most people make mistakes when learning how to shape eyebrows at home. Removing hair from above the brow can change the shape more than you’d expect and tends to look less natural. Unless there are obvious stray hairs sitting well above your brow line, leave the top alone.
7. Compare both sides. Step back and look at both brows together. They should be sisters, not twins – similar in shape and thickness but not identical. Small differences are normal and rarely noticeable to anyone else.
Tweezing vs Waxing vs Threading: Which Method Works Best?
There’s no single best method. Each one has strengths depending on your skin, your pain tolerance, and how much control you want:
| Method | Pain Level | Precision | Best For | Lasts |
|---|---|---|---|---|
| Tweezing | Low-medium | Very high | Shaping at home, touch-ups | 3-4 weeks |
| Waxing | Medium-high | Medium | Removing lots of hair quickly | 3-6 weeks |
| Threading | Medium | High | Clean lines, sensitive skin | 2-4 weeks |
| Razor/trimmer | None | Low | Quick cleanup, no pain | 1-2 weeks |
Tweezing is the go-to method if you’re shaping at home because you control exactly which hairs come out. The downside is that it’s slow and can be tedious if you have a lot of stray hairs.
Waxing removes hair in sections, which is faster but less precise. Not ideal for beginners doing their own brows because one wrong strip can take off too much. Waxing can also irritate sensitive skin and shouldn’t be used if you’re on retinoids.
Threading uses a twisted thread to pull out rows of hair. It’s very precise and works well for people with sensitive skin since no chemicals touch the face. The catch is that it’s hard to do on yourself – threading is typically a salon technique.
Razors and trimmers are painless and fast but the hair grows back quickly and can look stubbly. Better for general cleanup than detailed shaping.
For most people learning how to shape eyebrows at home, tweezing is the best starting point. You can always add other methods later once you’re comfortable with your shape.
Mistakes That Lead to Over-Plucking
Over-plucking is probably the biggest fear when it comes to doing your own brows, and for good reason. Hair that’s been repeatedly over-plucked can stop growing back entirely. Here’s what leads to it:
Using a magnifying mirror. It shows every tiny hair, including ones that most people wouldn’t notice from a normal distance. You start removing hairs nobody can see, and suddenly your brows are half the width they were. Use a regular mirror and stand at arm’s length to check your work.
Tweezing in bad lighting. Dim bathroom lighting creates shadows that make you think hairs are in places they’re not. Always tweeze in natural daylight or bright, even lighting.
Not stepping back. It’s easy to get focused on one spot and keep plucking. After every 3-4 hairs, physically step back from the mirror and look at the full picture. This habit alone can save you from most over-plucking mistakes.
Chasing perfect symmetry. Your brows are rarely going to be identical. Trying to match them perfectly usually means removing more and more from each side until both are too thin. Get them close and stop.
Tweezing from the top. Removing hairs from above the brow creates an unnatural, surprised look. The upper edge is what gives your brow its shape, so it’s better left alone.
How to Keep Your Brow Shape Between Sessions
Once you’ve found your shape, maintaining it is much easier than the initial shaping:
Touch up every 3-5 days. Don’t wait until your brows are completely overgrown. A quick check every few days – removing 2 or 3 stray hairs – keeps them looking groomed with minimal effort.
Brush daily. A spoolie through your brows in the morning takes five seconds and makes them look immediately more polished. Brush up and slightly outward.
Use a clear brow gel. If your brow hairs tend to go in different directions, a clear gel keeps them in place all day without adding color or looking heavy.
Let them grow if you want to change shape. If you’ve been over-tweezing and want fuller brows, you’ll need 6-8 weeks of not touching them. It’s an awkward phase but it’s the most reliable way to reset.
FAQ About How to Shape Eyebrows at Home
How do I shape my eyebrows at home for the first time?
If you’re a beginner, start with brow mapping to find your start, arch, and end points. Then tweeze only the stray hairs below your brow line and between your brows. Work in natural light, remove one hair at a time, and step back frequently to check your progress. Less is more on your first attempt.
What eyebrow shape is best for a round face?
Angled brows with a defined arch tend to complement round faces because they add structure and vertical lines that balance the face’s natural width. Avoid rounded brows, which can make a round face appear wider.
How do I know where my eyebrow arch should be?
Hold a pencil from the side of your nose through the center of your pupil while looking straight ahead. Where the pencil crosses your brow bone is your natural arch point.
Should I shape my eyebrows from above or below?
Below. The top edge of your brow defines its shape. Removing hairs from above flattens the brow and can look unnatural. Only remove obvious strays that sit well above your brow line.
How long does it take for over-plucked eyebrows to grow back?
Typically 6-12 weeks for the hairs to grow back enough to reshape. If you’ve been over-plucking the same area for years, some hairs may not return at all. During the growth phase, fill in sparse areas with a brow pencil using light, hair-like strokes.
How often should I shape my eyebrows?
A full reshape every 3-4 weeks, with quick touch-ups every few days to remove new strays. This keeps them looking maintained without spending a lot of time.
Can I shape my eyebrows if they’re very thick?
Thick brows are actually easier to shape because you have more hair to work with. Brush them up, trim any long hairs, and remove strays below the brow line. The goal is to clean up the edges while keeping the natural fullness – thick brows are in and they frame the face well.
Does tweezing hurt?
It can, especially the first few times. Tweezing right after a warm shower helps because the heat opens your pores and loosens the hair follicles. Over time, the hairs grow back finer and tweezing becomes less painful.
Your brows frame your entire face, and knowing how to shape eyebrows at home puts you in control of that frame. Start simple, remove less than you think you should, and work with your natural shape rather than against it. You can always take more off – you can’t put it back.
More Articles About Beauty
- The Ultimate Brow Care Routine
- Under Eye Patches: Do They Actually Work?
- How to Make Lips Look Bigger Without Filler
Disclaimer: This article is for informational purposes only.
Written by Pure as Beauty